Getting Started video:
More information on using the Whiteboard: https://docs.i3-technologies.com/i3wb/i3whiteboard-and-i3annotate-user-manual
Navigating
Navigating
There are two main ways of navigating your i3TOUCH panel:
Remote control
The remote control is an easy way of navigating your i3TOUCH with easy access to the direct Back and Home actions.
Several i3TOUCH remote controls offer an even wider range of functions, in order to discover the full capabilities, we kindly ask you to review the documentation of your specific device.
Side menus
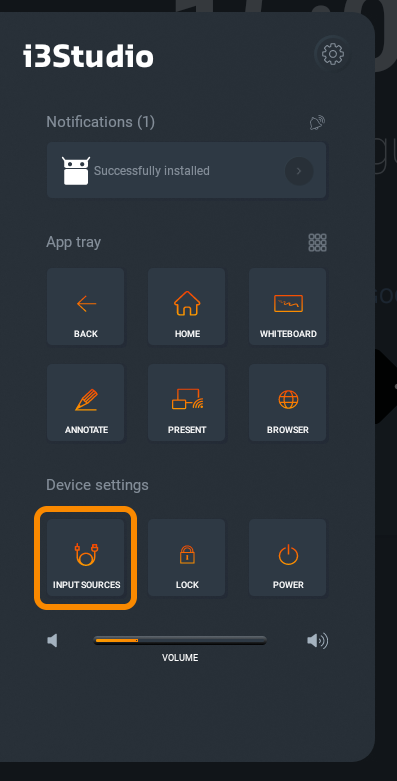
The side menus offer easy access to the controls of the panel from any location.
You can click a side menu open from the left and the right side to quickly navigate back, home or to a specific app available through the menu.
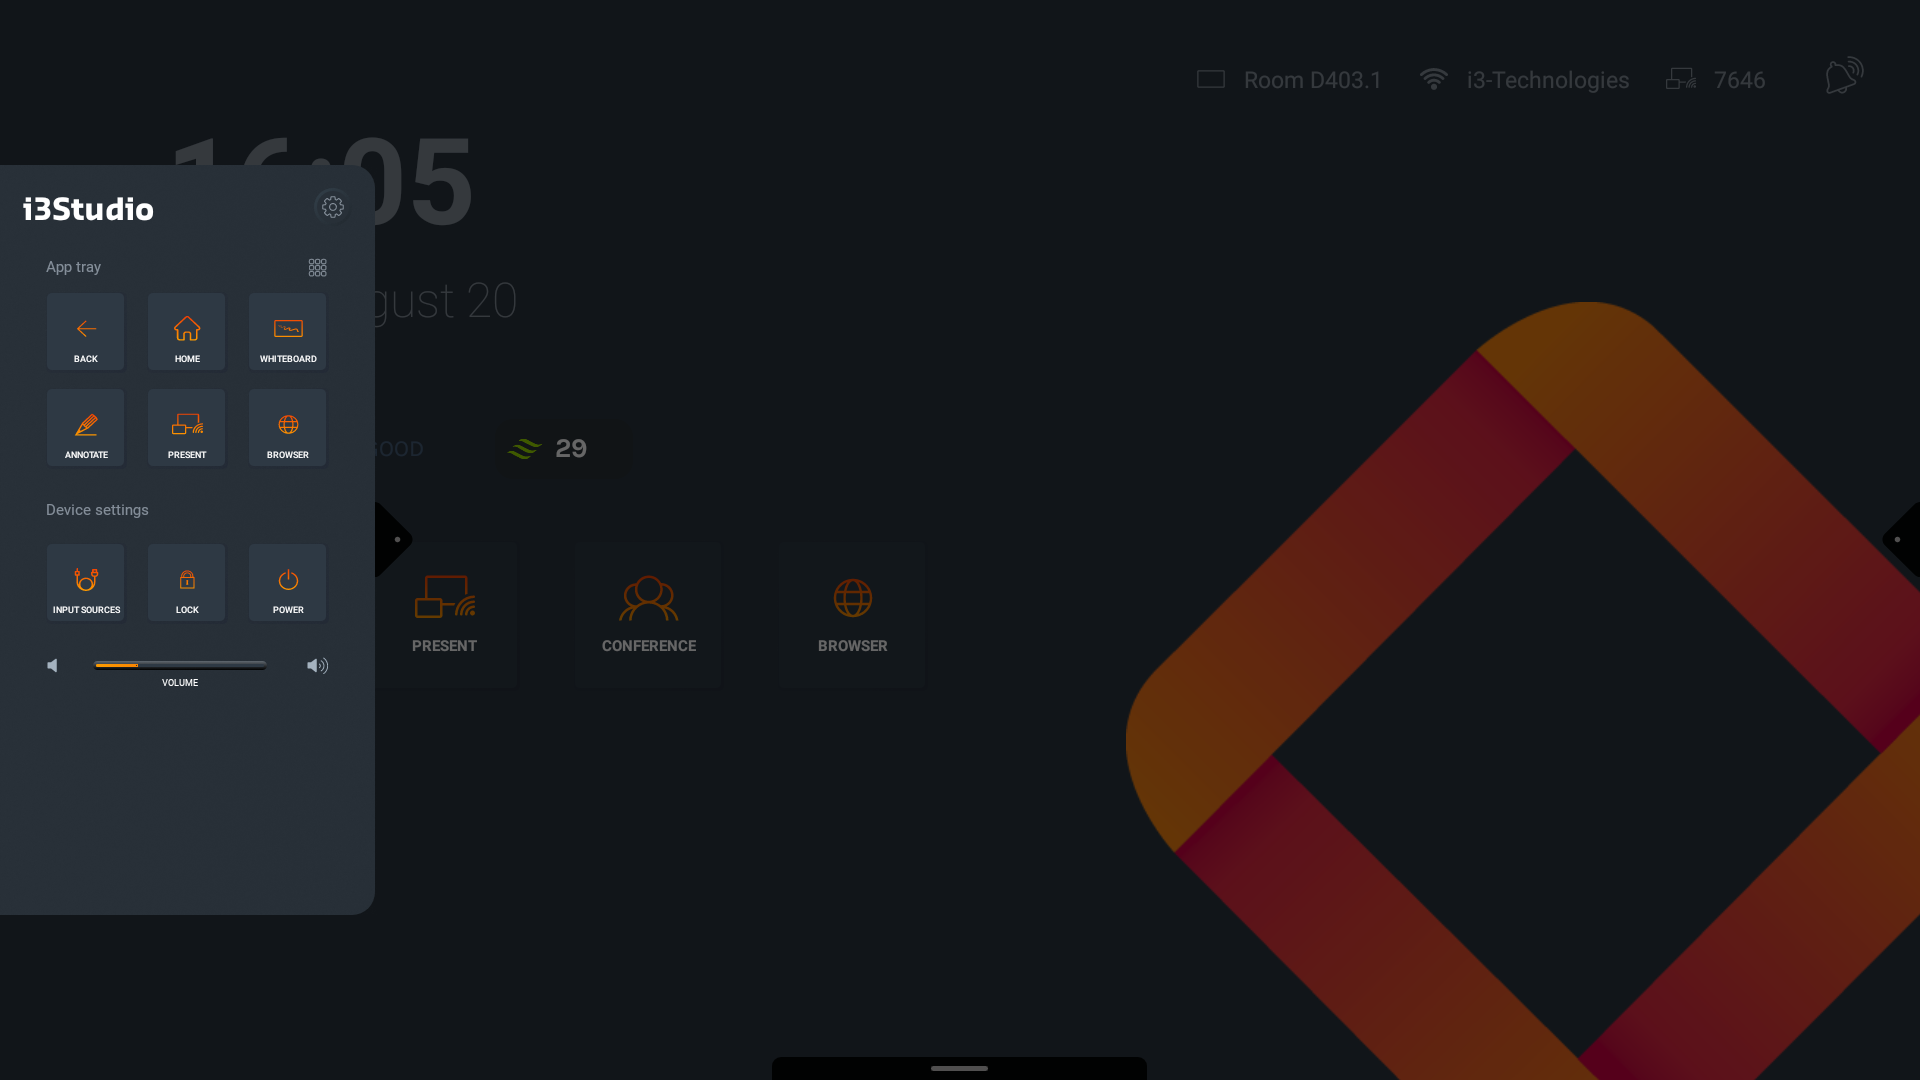
The side menu offers quick access to the most frequently used applications, gaining you time and resulting in a smooth and fluent experience.
Access the settings menu
Stay up-to-date with all notifications
Back-action
Navigate to the home screen
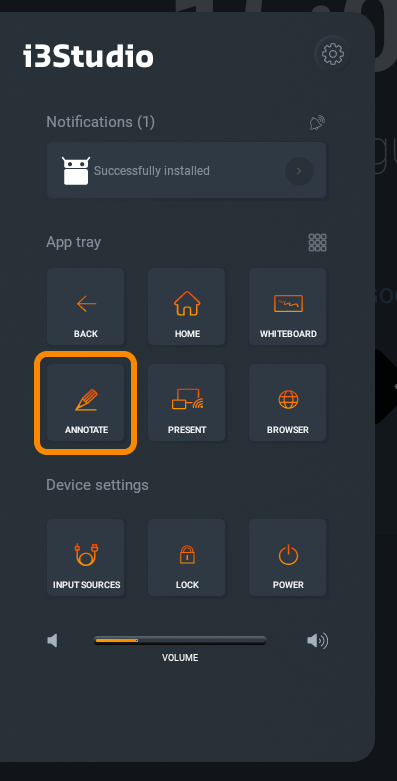
Open whiteboard
Start annotating on top of your current screen
Present through i3ALLYSNC
Open the browser
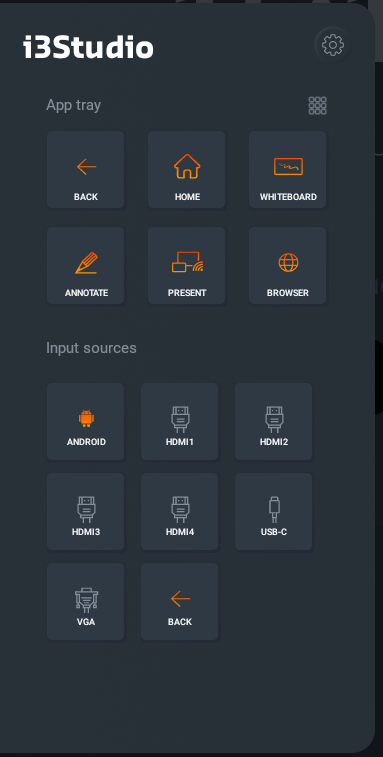
Select a different input source for the i3TOUCH
Lock the screen of the i3TOUCH (passcode)
Power down or put the screen in standby mode
Change the volume or toggle mute by clicking the left speaker icon
Presenting
Streaming content to the i3TOUCH display over Wi-Fi can be achieved by a push-of-a-button.
Open Wi-Fi streaming by pressing the “Present” button on the Homescreen (1) or from either bottom- or side menu. (see image below)
Whether you are a Windows, Mac, or Android user, i3ALLSYNC easily synchronizes your content to your i3TOUCH display.
Is there no Wi-Fi network available? No problem! Your i3TOUCH can be configured as a hotspot!
More information and downloads can be found on the i3-Technologies website under Wireless presenting
Once familiar with setting up a connection, you can connect quickly to your display by using the on-screen information provided by the i3ALLSYNC widget. (2)
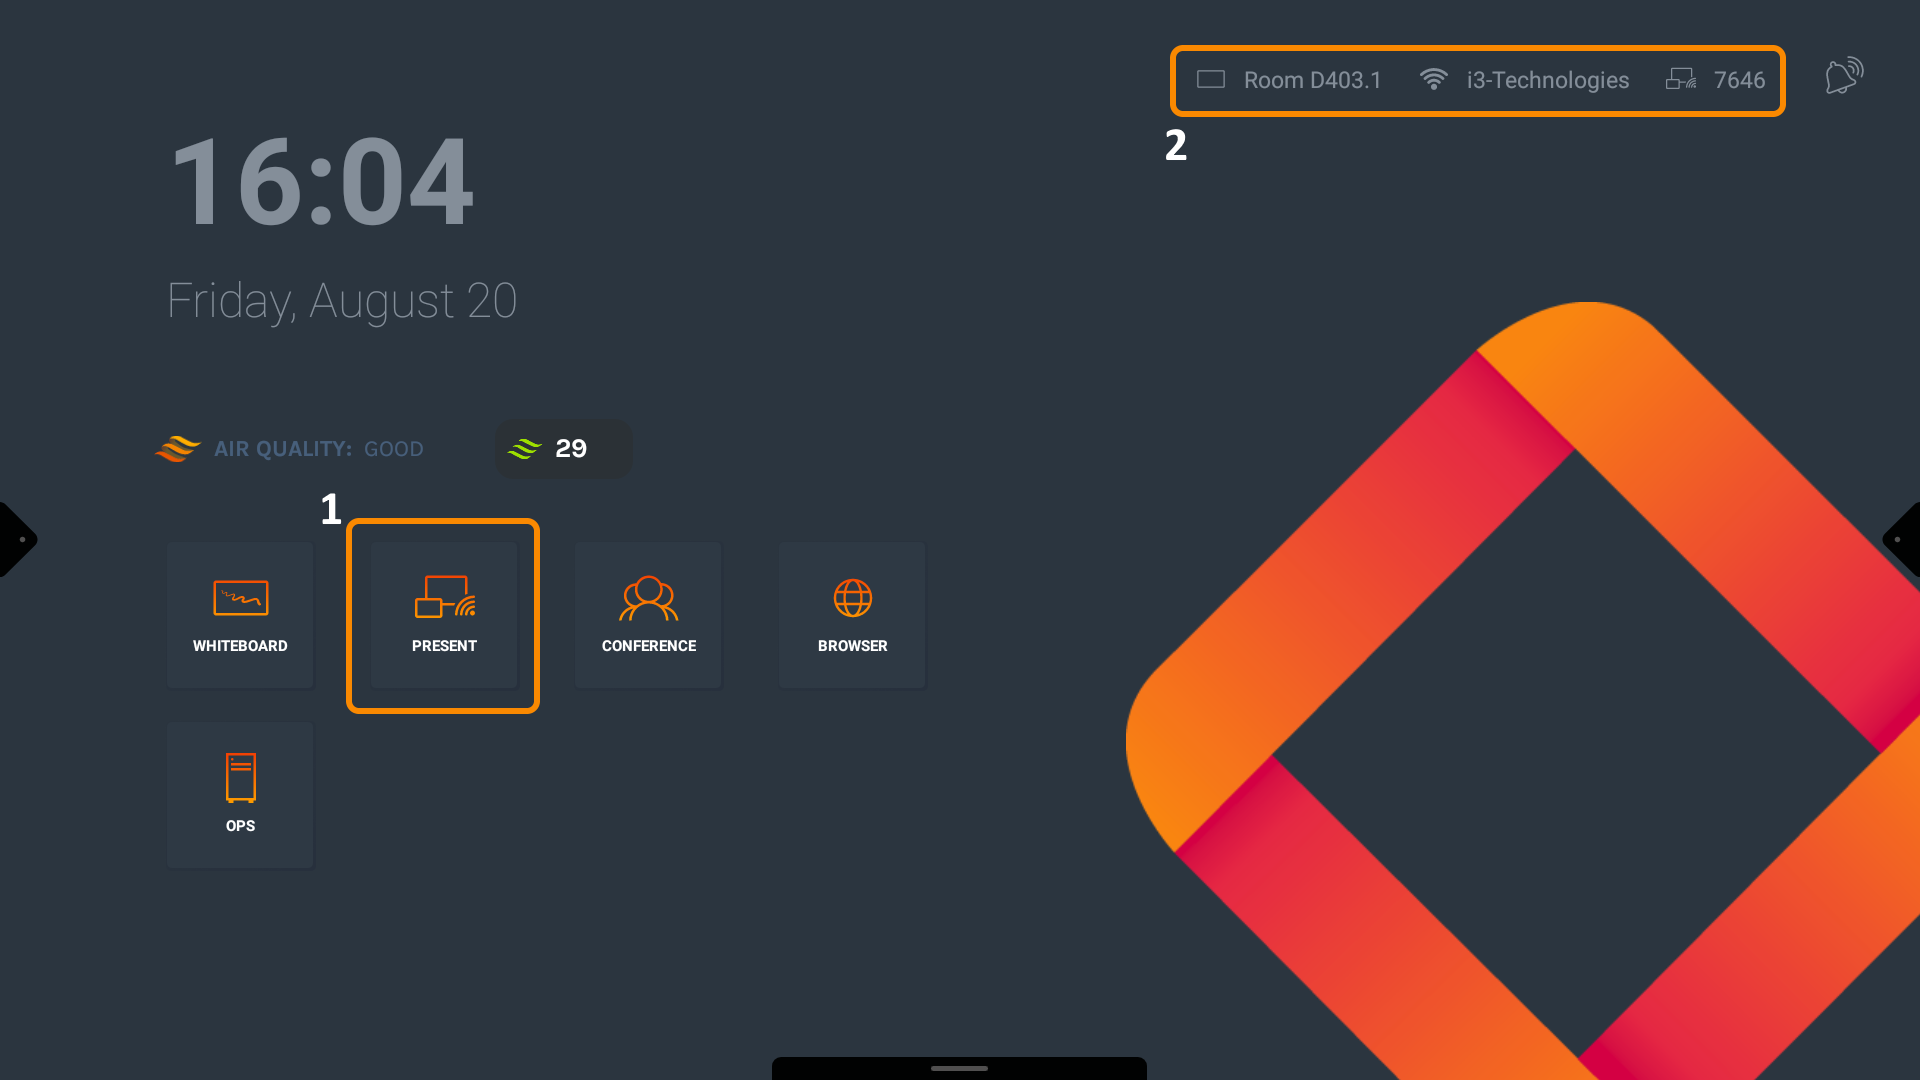
In case your computer or device doesn’t support i3ALLSYNC, traditional input sources such as HDMI, USB-C, VGA, etc. are also available through the side menu by clicking “input sources”.
Annotating
At any moment you can make annotations on your display, save these annotations and share them. Making sure no valuable information is lost while interacting with your audience.
To start annotating, simply click the annotate icon from the side menu and use the touch interface to add information to the screen.
Below you can find an example of an annotated screen.
The screen and annotation (orange) can be saved into Whiteboard by using the camera icon. (red square)
You can capture multiple screenshots and continue to edit them later in Whiteboard. (see further)


Whiteboard
One of the perks of an interactive touchscreen is the ability to express your ideas the way you want!
With our Whiteboard app, you are free to use the canvas exactly how you want and easily share your creations.

Sharing your whiteboard content has never been easier thanks to the options available for exporting.
By simply clicking the share icon and the “generate QR” button, your boards will automatically be converted to a pdf file, uploaded, and made available through a weblink, conveniently encoded as a QR code.
Scanning the code will automatically redirect any device to the generated pdf file.

For more detailed information and further exploration of annotating and whiteboard,
please refer to the i3WHITEBOARD user manual.
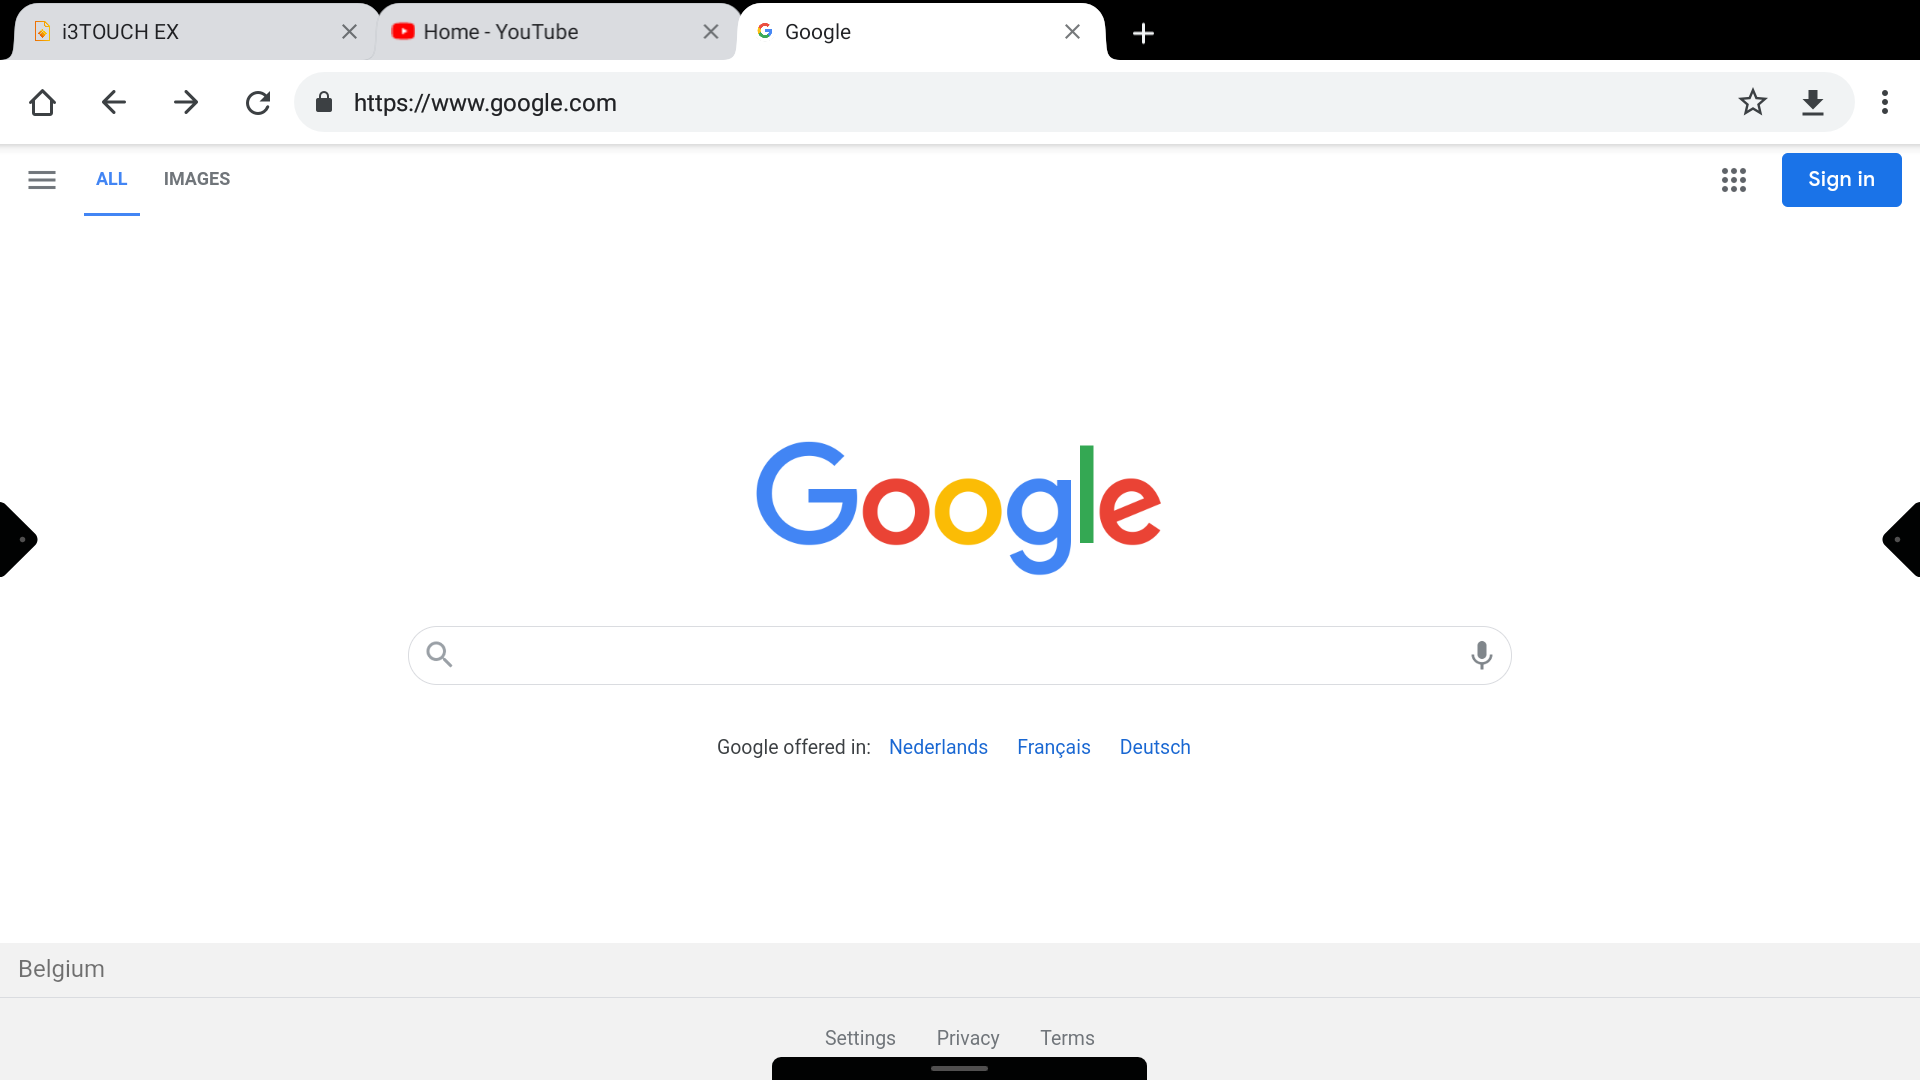
Browsing
For browsing the web, i3STUDIO provides the Google Chrome application.
Just click on the browser icon on the home screen or in any of the menus to open Chrome.
Usage instructions for the Google Chrome browser can be found at https://support.google.com/chrome .

The display has a limited amount of free memory, in order to keep your display performant please refrain from opening an excessive amount of tabs in Chrome.